
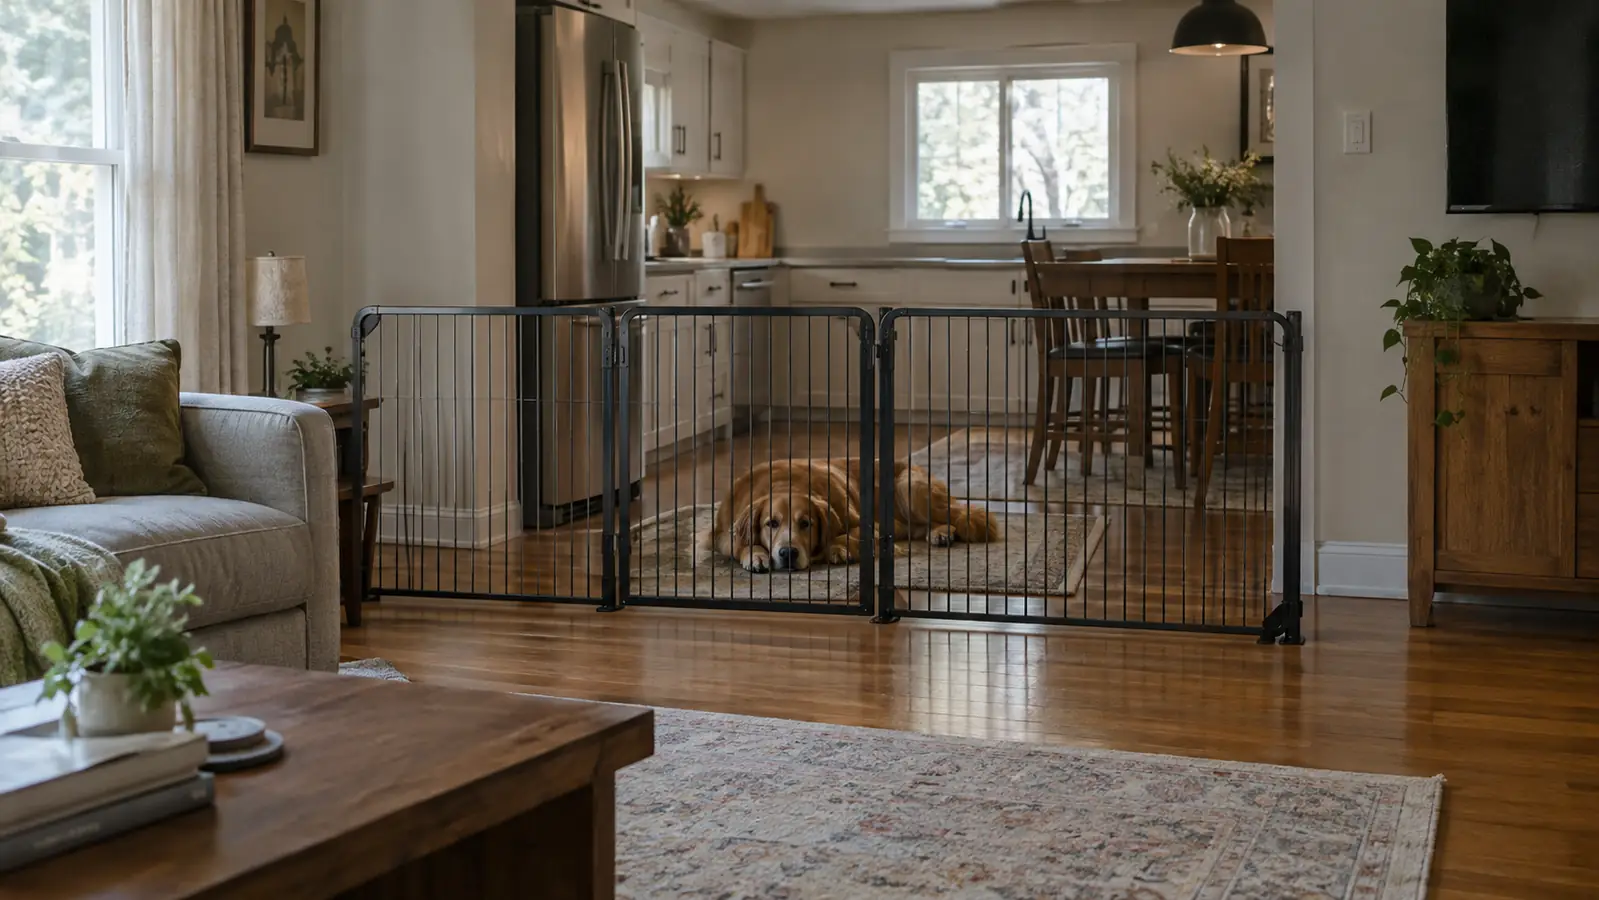
The first time I tried to split a room for guest dogs, I used a baby gate I found in the back of a closet. It lasted about four hours. A young lab mix we were boarding that week figured out that the latch lifted if he bumped it just right, and by the time I came back from the mudroom he had helped himself to the other dog's dinner. That was the day I started treating room dividers as real equipment instead of an afterthought. If you board dogs in your home, or even if you just have a friend's dog staying over, you will eventually need to keep two dogs apart safely. The PETMAKER 4-Panel Indoor Foldable Dog Pet Gate is the tool I recommend for that job, and this guide walks through exactly how I set one up.
I ran a small licensed in-home boarding operation outside Loveland, Colorado for eleven years, usually four to six guest dogs at a time. My own dog, Juniper, is a seven year old Australian Shepherd mix who supervises every guest and hates being shut out of a room. I learned pretty fast that a closed door makes her anxious, and an anxious herding dog will whine, pace, and scratch at the woodwork. A freestanding gate lets her see what is happening on the other side, which settles her down, and it keeps guest dogs where they need to be without turning my house into a series of locked rooms.
The gate that survived eleven years of guest dogs
The PETMAKER 4-Panel Indoor Foldable Dog Pet Gate is the freestanding divider I reached for every single day of my boarding years. It sets up in under a minute, needs no tools, and folds flat when you are done. Check today's price on Amazon and see if it fits your doorway.
Amazon Check Today's Price on Amazon →Step 1: Measure the opening and the dogs
Before you buy or set up anything, measure the space you actually need to divide. I used a tape measure on the doorway or hallway opening, then added a few inches on each side so the gate could overlap the wall. The PETMAKER gate is four panels, and each panel is about 24 inches wide, so it covers a generous span when you open it fully. For a standard interior doorway, you will have plenty of overlap. For a wide opening between a living room and a kitchen, you can angle the panels into a zigzag and still cover the gap.
Then measure the dogs. This is the step most people skip. A gate that stops a 20 pound terrier will not stop a determined 70 pound dog who has decided the other side is where the food lives. I learned to look at shoulder height and weight, not just height. A tall, lean dog can clear a low gate. A heavy dog can push through a flimsy one. The PETMAKER gate stands about 30 inches tall, which is enough for most dogs under 50 pounds, and the four panel design spreads pressure across the whole span so a big dog leaning on it does not tip it the way a single panel gate tips.
If you are boarding, also measure the guest dogs. I kept a small notebook with each dog's name, weight, and quirks, and I checked it before I set up any barrier. A nervous beagle we boarded one Christmas could slip through a gap I would not have noticed, so I learned to close every gap before I trusted the setup. That beagle was only about 18 pounds, but she could squeeze through a two inch gap if the gate was not seated flush against the wall. I started running my hand along the bottom edge after every setup to feel for gaps, and I still do that today.
Step 2: Choose the right spot and clear the floor
The gate only works if the floor is clear on both sides. I learned this the hard way during a Fourth of July weekend when I had five guest dogs and a basket of laundry sitting right where I needed to place the gate. The gate could not sit flat, a gap opened under the bottom panel, and a miniature poodle squeezed through before I even finished setting up. Now I clear a three foot path on both sides of any opening before I unfold the gate. That means moving dog beds, food bowls, toys, and anything else a dog might decide is worth crossing a barrier for.
I also look at what is on the other side of the gate. If I am splitting a room so one dog can eat in peace, I put the food bowl on the far side and the water on the near side. If I am separating a new guest from the resident dogs for the first few hours, I put the calmer dog on the side with the window and the nervous dog on the side with the blanket. The gate is a tool for managing behavior, and where you place it matters as much as how you set it up.
One more thing about the floor: the PETMAKER gate has rubber feet on the bottom of each panel, and those feet grip better on hard floors than on carpet. On carpet, I press down firmly on the top bar after unfolding the gate so the feet seat into the pile. On hardwood, I make sure there is nothing slippery under the feet, like a stray magazine or a dog toy. A gate that slides is a gate that fails, and a gate that fails during a thunderstorm with three dogs in the house is a bad afternoon.
Step 3: Unfold the gate and lock every panel
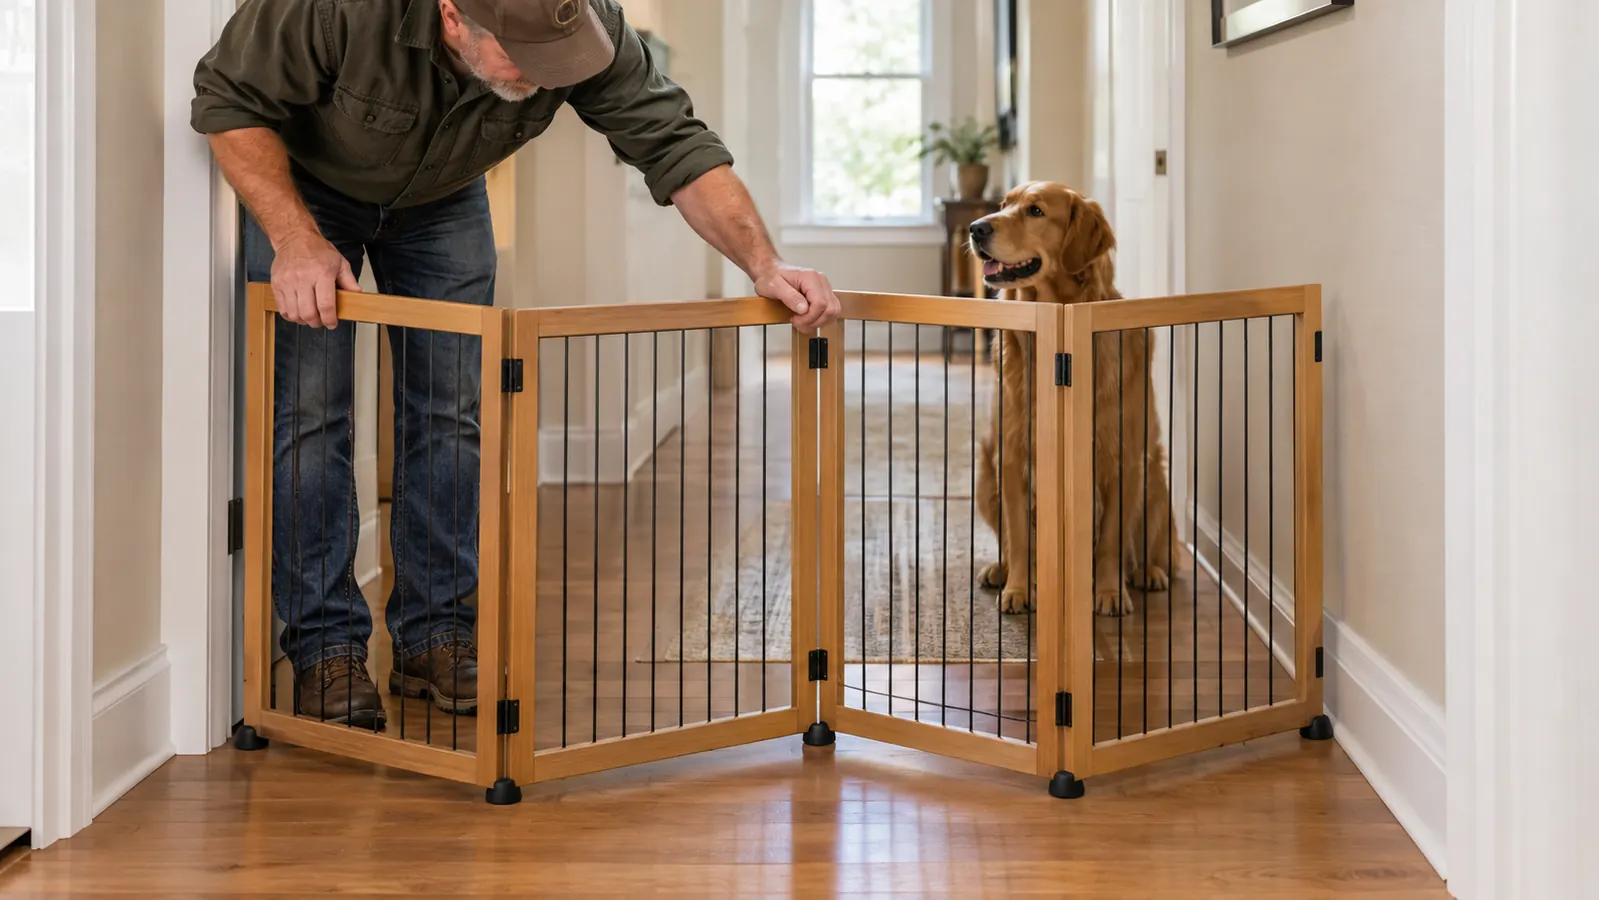
The PETMAKER gate unfolds like a folding screen. I grab the two end panels, pull them apart, and the four panels open into a straight line or a gentle curve. The hinges lock into place with a small tab on each panel, and I check every single tab before I walk away. I have seen people skip this step and then wonder why the gate folded up like an accordion the first time a dog leaned on it. The tabs are there for a reason, and checking them takes about ten seconds.
Once the panels are locked, I position the gate so the end panels overlap the wall by at least two inches on each side. That overlap is what keeps the gate from tipping when a dog pushes against the middle. I also angle the gate slightly into the room, like a shallow V, so the pressure from a leaning dog pushes the end panels into the wall instead of away from it. This is the trick that made the biggest difference in my boarding room, and it is the one I tell every friend who borrows the gate.
If I am using the gate to split a room rather than block a doorway, I set it up in a zigzag instead of a straight line. A zigzag takes up more floor space, but it is much more stable, and it creates two smaller areas that each feel like their own space. I used this setup for years in my converted mudroom boarding room, with one dog on each side of the zigzag and Juniper supervising from the middle. It worked so well that I stopped using the straight line configuration almost entirely.
Step 4: Test the gate before you trust it
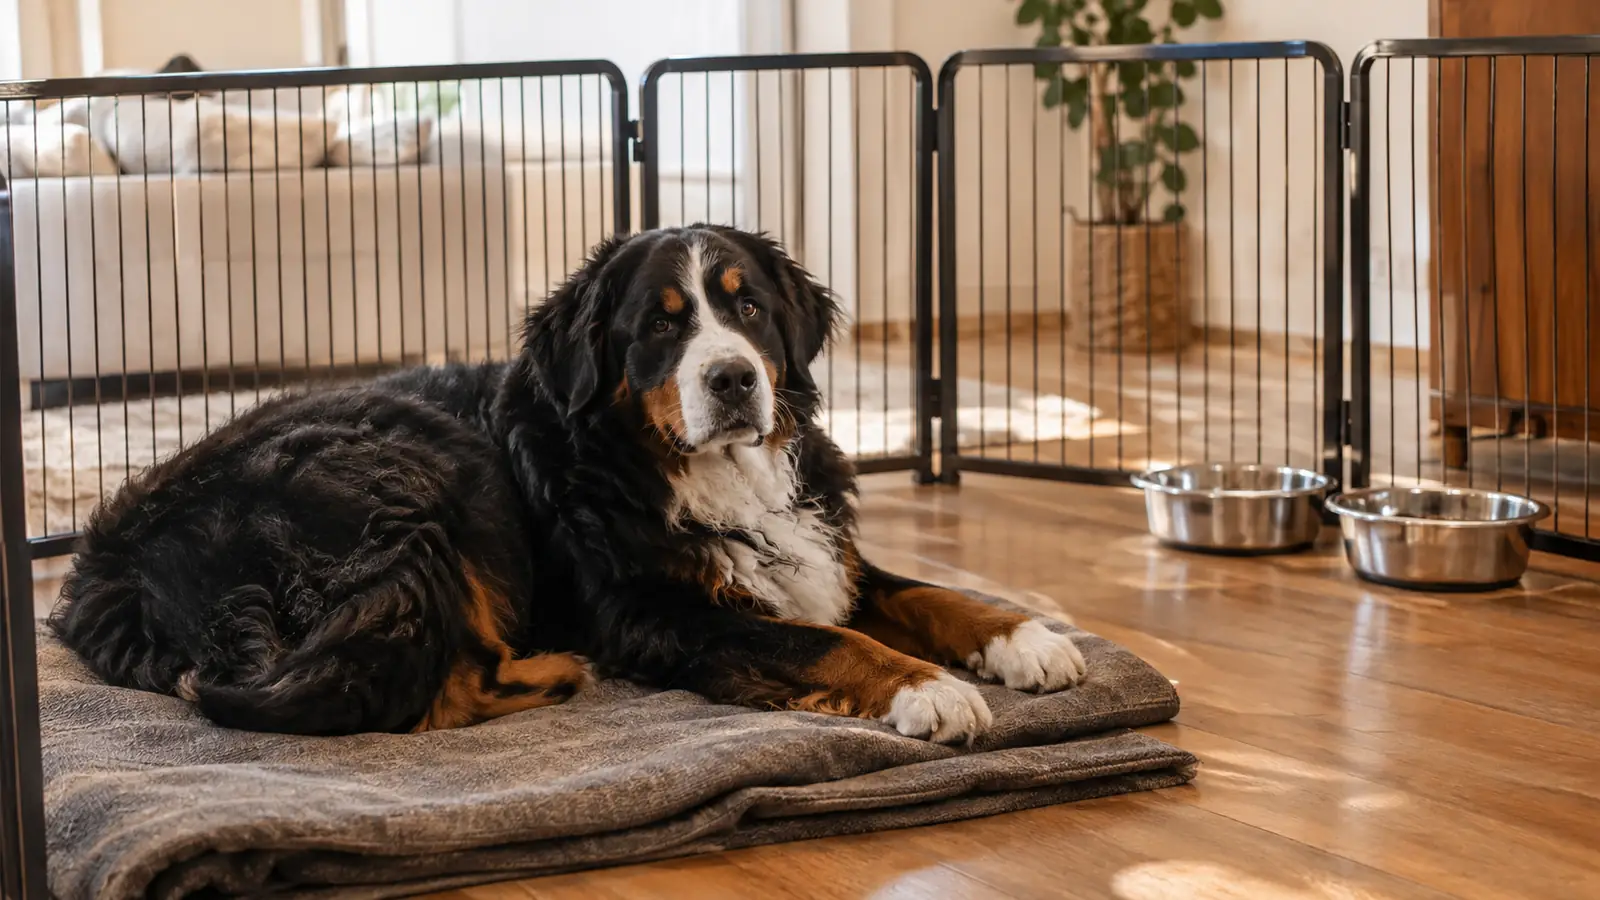
The first time I set up a new gate, I test it with the most determined dog in the house. For me, that was always Juniper, because she is smart enough to figure out latches and strong enough to push through anything that is not solid. I put her on one side, a treat on the other, and I watch what she does. If she can push the gate over, or squeeze under it, or pop a panel loose, I fix it before I ever put a guest dog on the other side.
I also test the gate with the guest dogs, one at a time, before I leave them alone with it. A nervous dog might try to jump the gate, and a determined dog might try to dig under it. I have seen both. A border collie we boarded one spring cleared a 30 inch gate from a standstill, and after that I started stacking a second gate on top for the jumpers. The PETMAKER gate is not designed to stop a dog that is truly determined to get over it, and no freestanding gate is. The test is about knowing your dogs and knowing what the gate can do.
The test also tells you whether the gate is stable on your particular floor. I set up the gate on a slightly uneven section of my mudroom floor once, and it rocked back and forth every time a dog leaned on it. I moved it six inches to the left, onto a flatter section, and the rocking stopped. That six inch move made the difference between a gate that worked and a gate that was a hazard. If your gate rocks, do not add a weight to hold it down. Move it to a flatter spot or adjust the angle.
Step 5: Supervise the first hour, then adjust
The first hour after I set up a new gate configuration, I stay in the room. I do not leave the house, I do not go into the garage, I stay where I can see the gate and the dogs on both sides. This is when problems show up. A dog that has never seen a gate might try to jump it. A dog that is scared of being separated might whine or pace. A dog that is fine with the gate might still try to reach through the panels to get at the dog on the other side.
I watch for three things during that first hour. First, does the gate stay put? If it slides or tips, I adjust the angle or move it to a flatter spot. Second, do the dogs settle? If a dog is pacing and whining for the whole hour, the setup is not working, and I try a different configuration or a different room. Third, do the dogs respect the gate? Some dogs learn the gate in five minutes. Others need a few days. I have had guest dogs that tested the gate every single day of their stay, and the gate held every time.
After the first hour, I check the gate again before every meal and every time I leave the room. I run my hand along the bottom edge, I check the hinge tabs, and I make sure the end panels still overlap the wall. It takes about thirty seconds, and it has caught more problems than I can count. A gate is not a set it and forget it tool. It is a piece of equipment that needs the same kind of attention as a crate or a leash.
What Else Helps
A gate is the backbone of splitting a room, but a few other things made my life easier. I always kept a second gate on hand, because two gates can create a small vestibule in a hallway, which is the safest way to move dogs in and out of a room without letting them rush the door. I also kept a stack of old blankets to put under the gate on hard floors, which gives the rubber feet something to grip and muffles the sound of the gate sliding. And I kept a bowl of high value treats near the gate, so I could reward a dog for sitting calmly on the other side instead of pawing at the panels.
The other thing that helped more than I expected was teaching Juniper to wait at the gate. She learned that the gate means she stays on her side until I say otherwise, and that one skill made every guest dog stay calmer. Dogs read each other's energy, and when the resident dog is relaxed about the gate, the guest dogs relax too. If you have a resident dog, spend a few days practicing the gate before you need it for real. It is the cheapest training you will ever do.
The gate that survived eleven years of guest dogs is the one I still recommend to every friend who boards. It is not the fanciest gate on the market, but it is the one that never let me down.
Set up your own room divider in under a minute
The PETMAKER 4-Panel Indoor Foldable Dog Pet Gate folds flat for storage, needs no tools, and has held up through years of daily use in my boarding room. Check today's price on Amazon and keep one ready for your next guest dog.
Amazon Check Today's Price on Amazon →